How to turn your point-and-shoot into a DSLR
Updated on
in
Photography
Software
Tags:
Camera
CHDK
Firmware
Hack
JPEG
RAW
Software
Tutorial
A while ago I stumbled over the Canon Hack Development Kit (CHDK). The CHDK follows the same idea as the Magic Latern project. CHDK replaces the firmware of the camera with an enhanced version. The CHDK provides many extra features over the normal firmware: shooting in RAW, higher quality settings for JPEG and videos, live histograms, auto bracketing and many more. I am mostly interested in the RAW shooting capabilities at this point. I installed the CHDK on my Canon SX260 HS (which I mainly use to record Tango lessons) to test it for myself. The following sections provide an overview of the RAW capabilities of the CHDK in combination with my SX260, the installation procedure and some final thoughts about my experience.
RAW vs JPEG
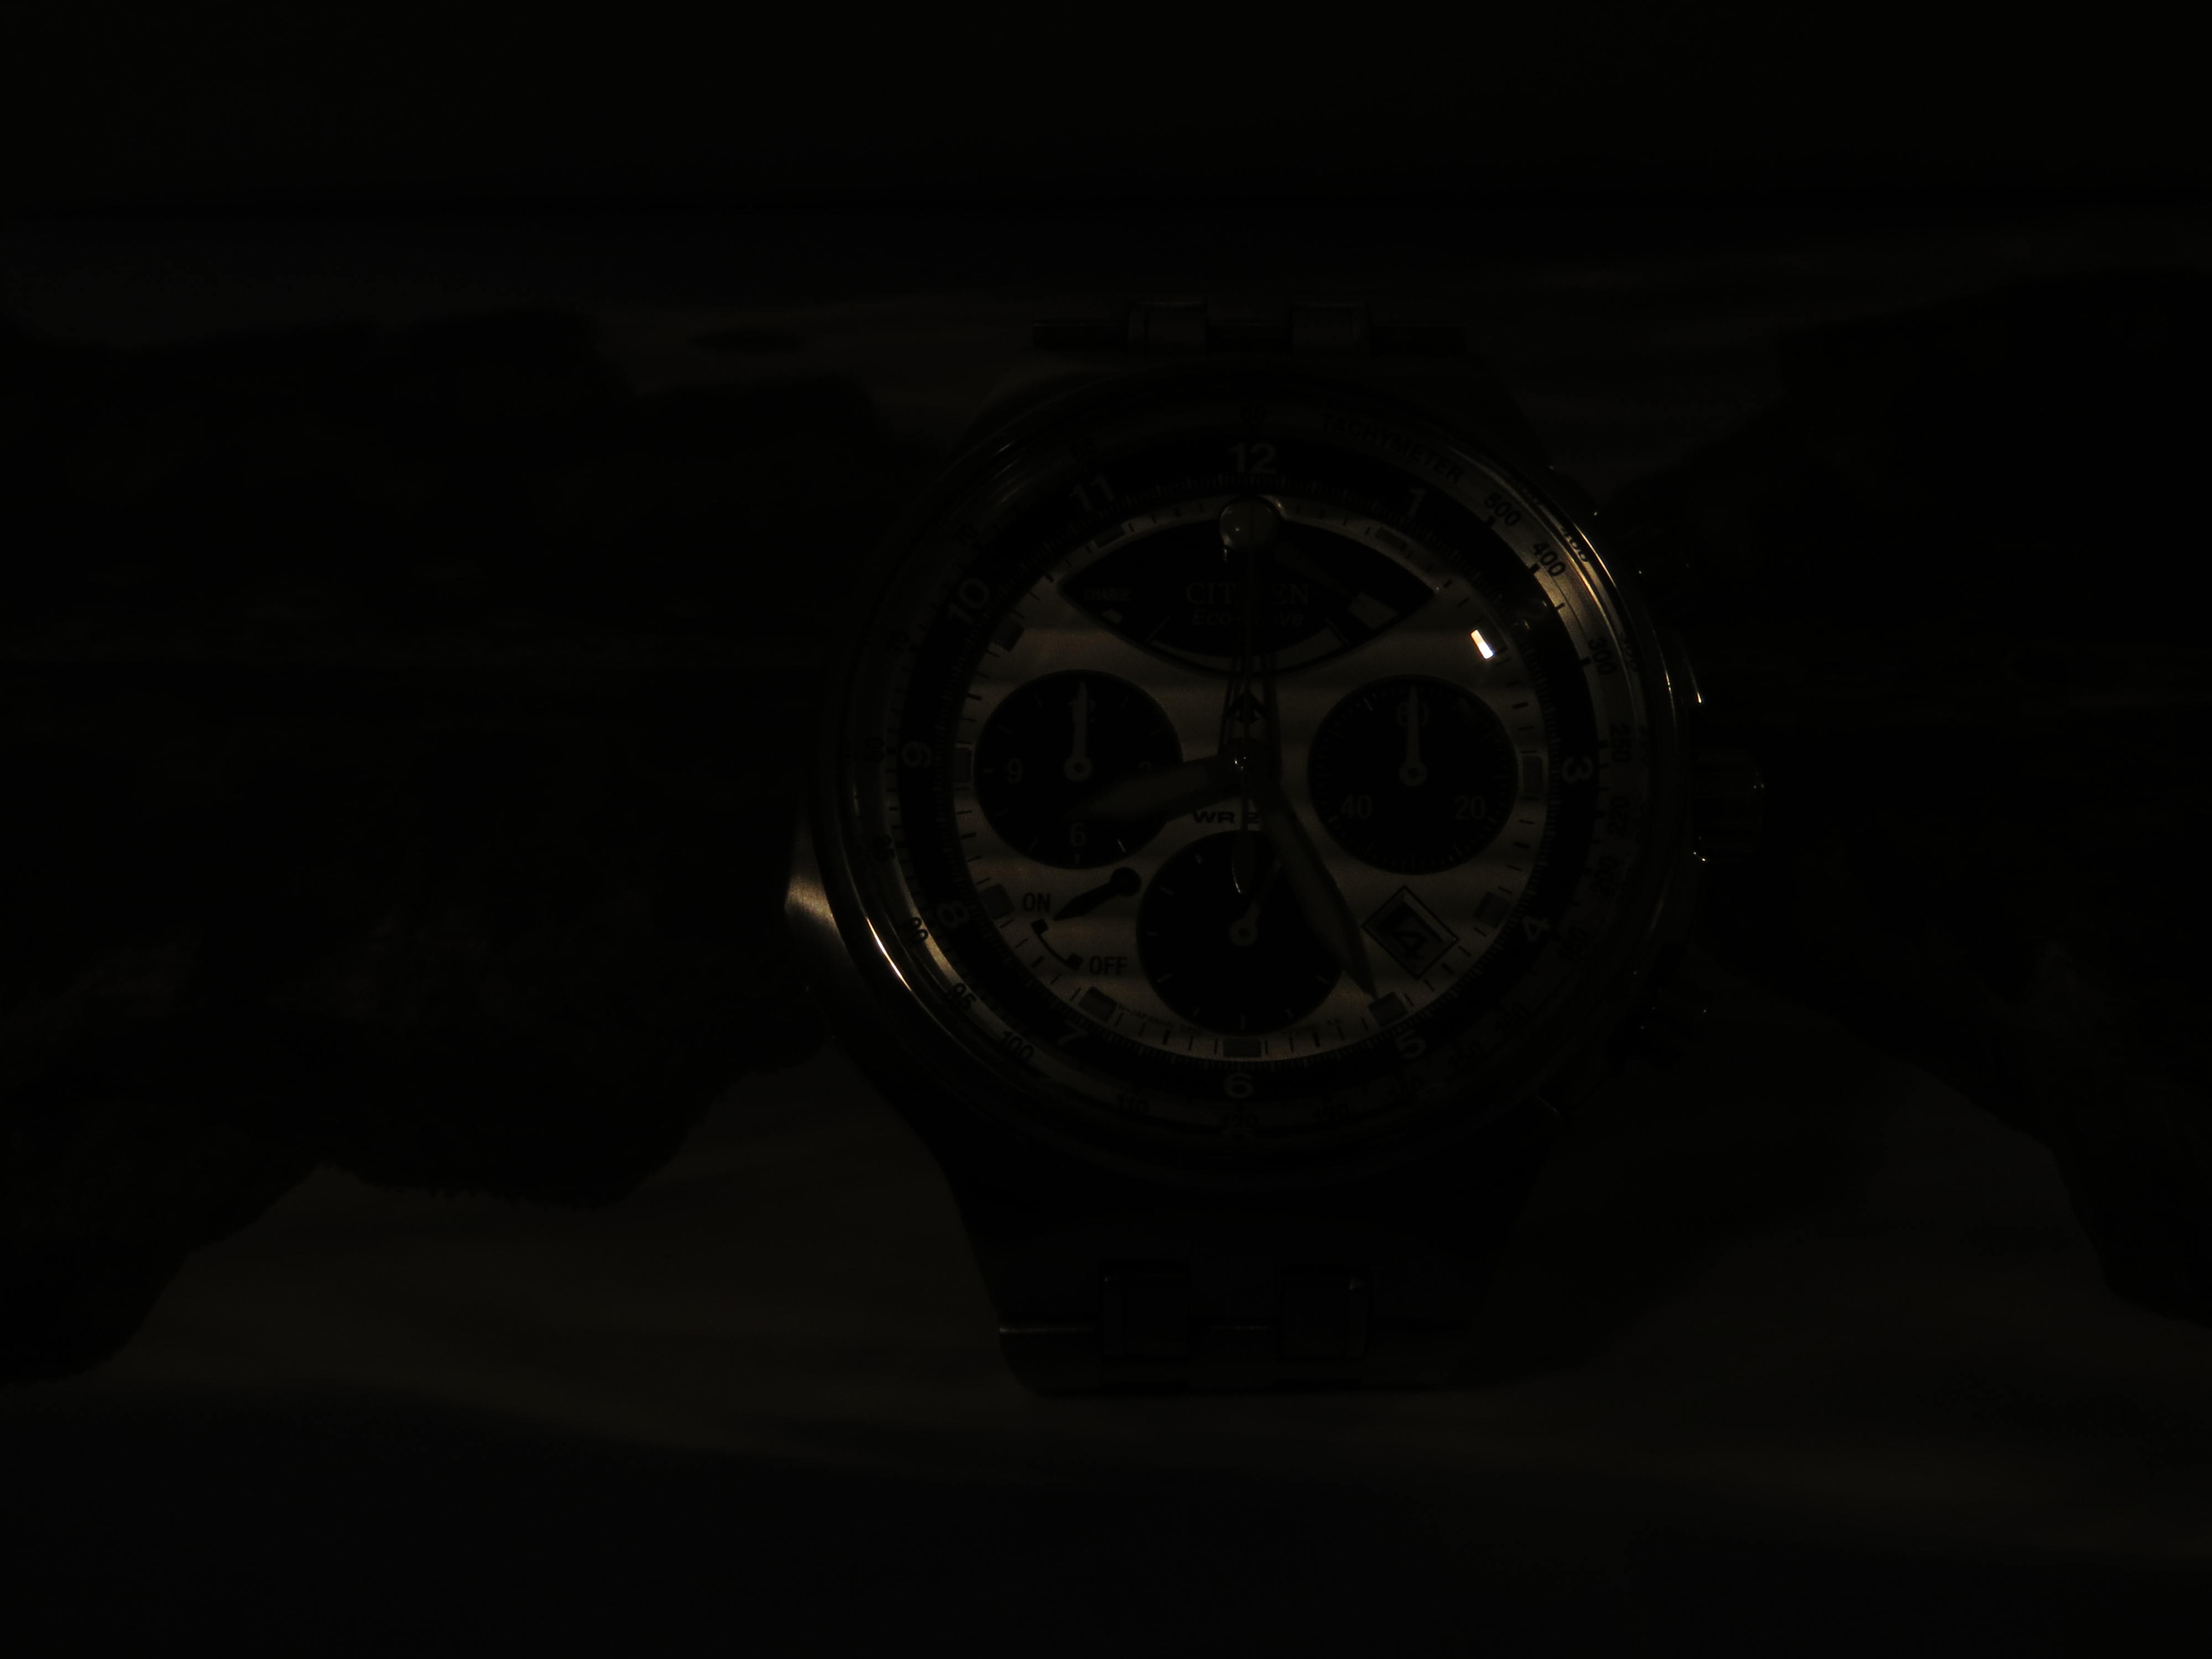
On of the most important advantages of RAW files over JPEGs is that it captures the information the sensor records and not some processed and boiled down version of it (like JPEGs do). RAW files over normally more flexibility when it comes to process an image and to recover information. To test this I took the following (purposely) under exposed image:

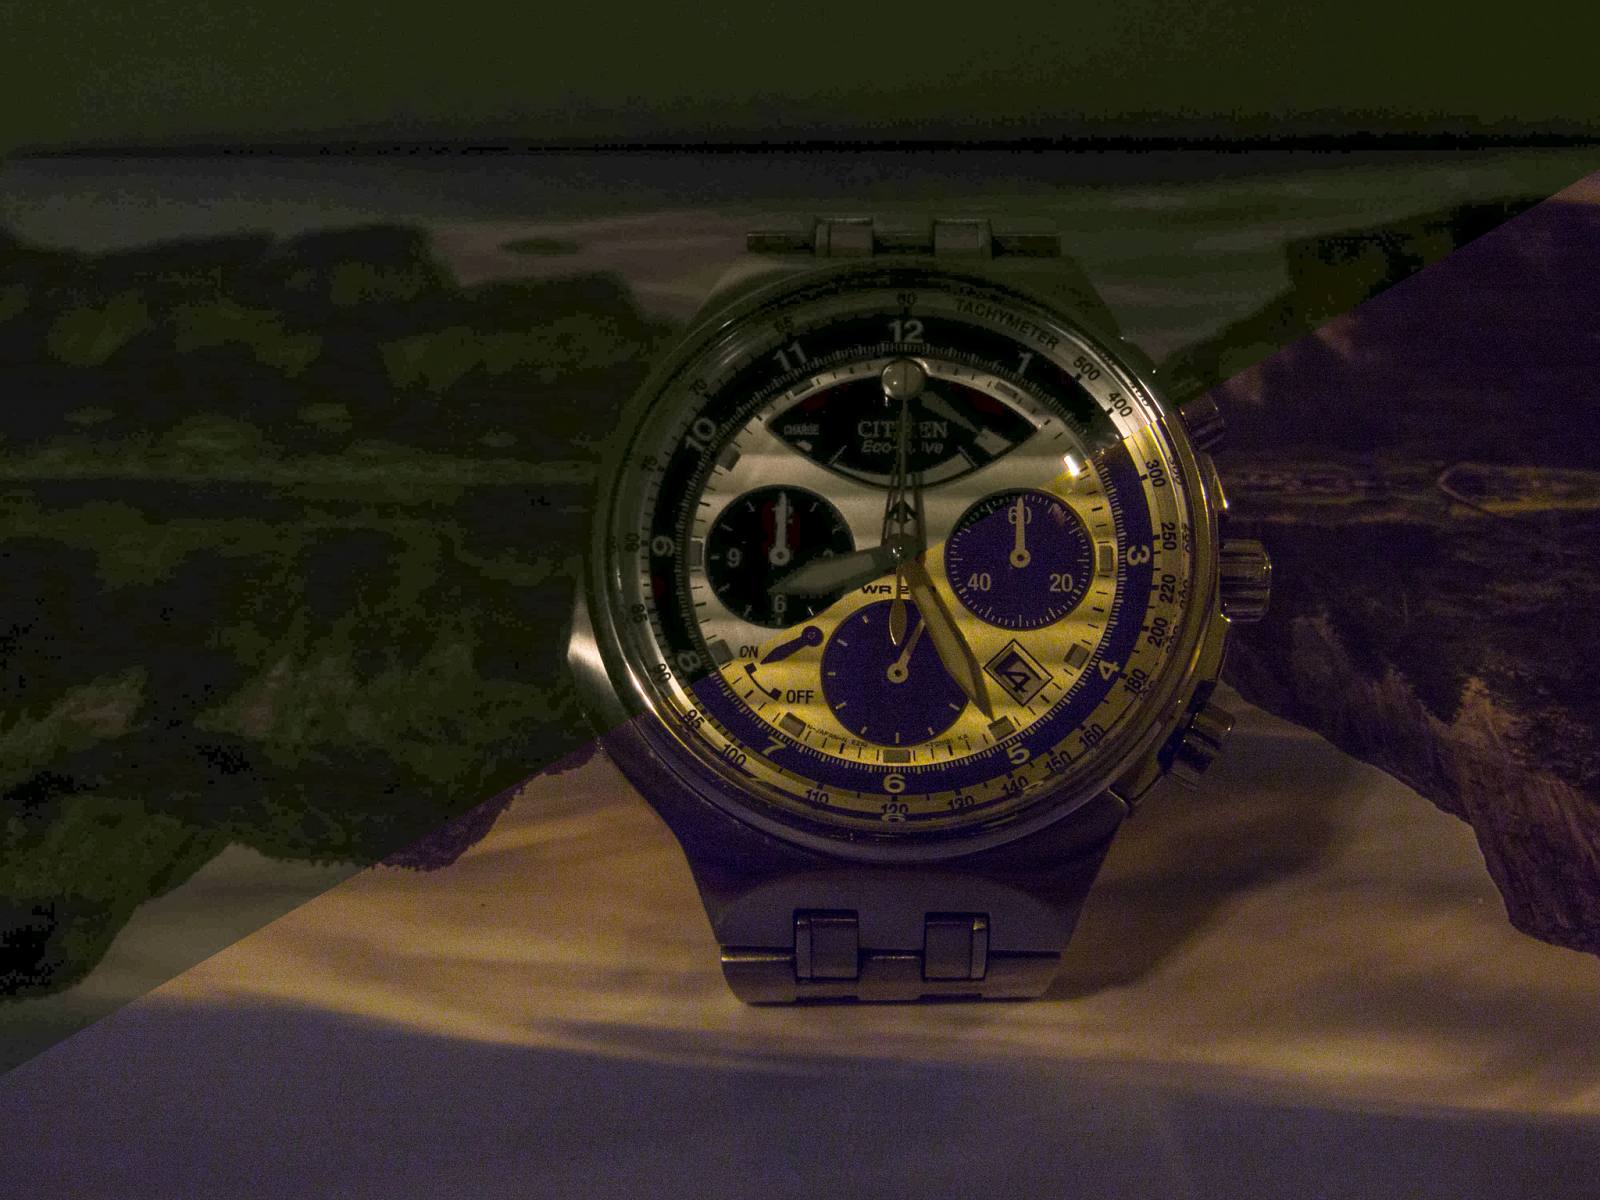
captured the image as JPEG and RAW file simultaneously. I the imported both versions into Lightroom. I just used the exposure settings in the basic panel to correct the overall exposure of the image. I used Lightroom sync mechanism to apply the exact same settings to the JPEG version. Below are both versions, the JPEG version is on the top-left and the RAW version on the bottom-right. You can clearly see the JPEG artifacts and the lower dynamic range in the JPEG file.

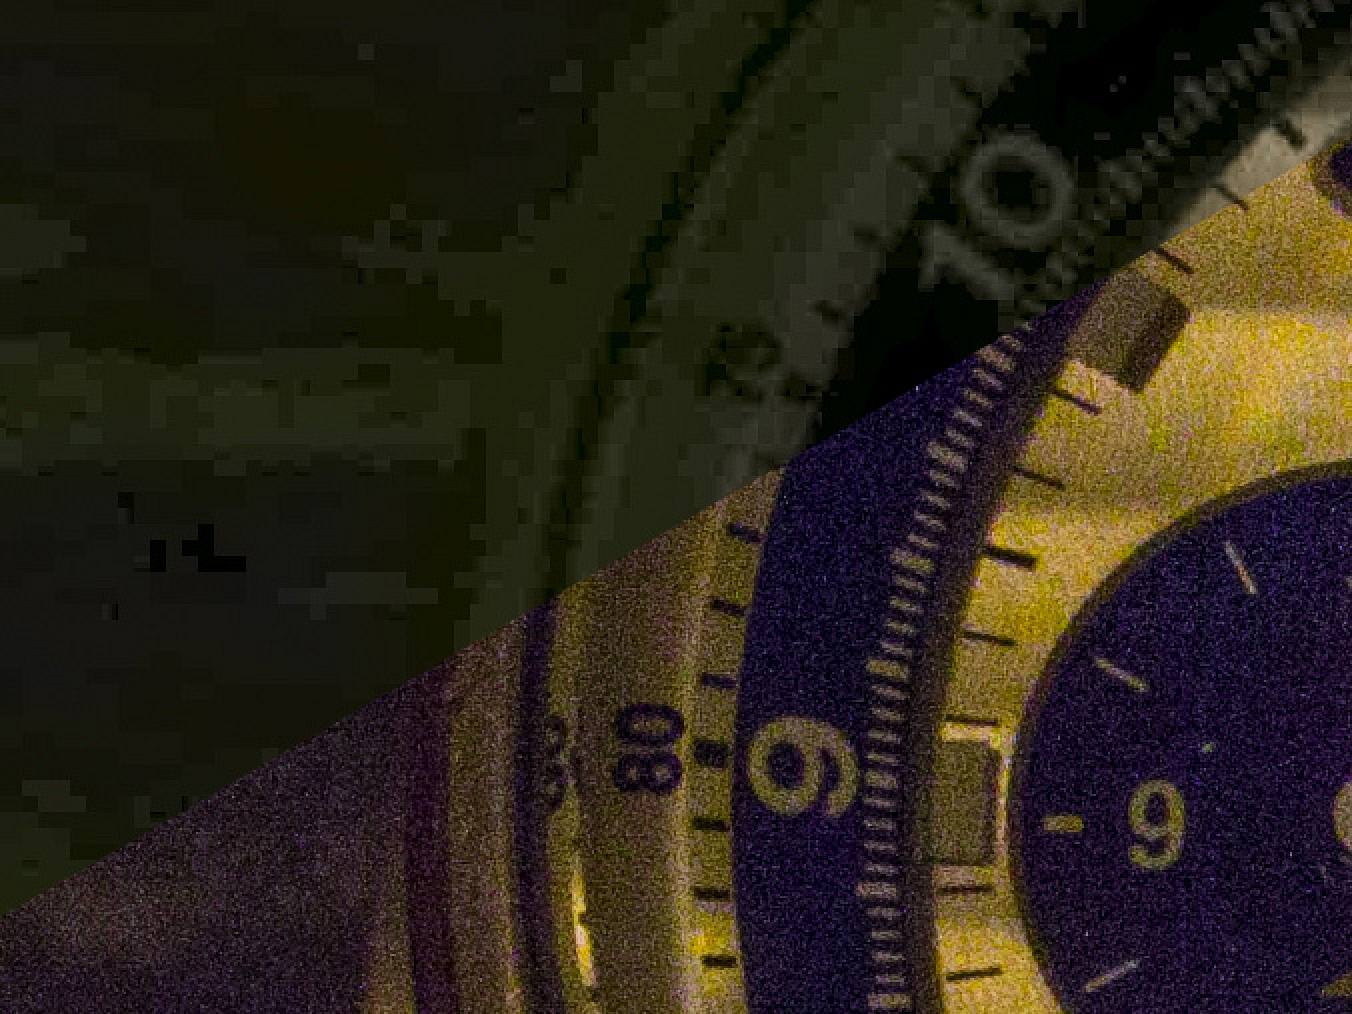
Looking at a 100% crop you can see the difference even more so. Again the JPEG version is on the top-left and RAW version is on the bottom-right side.

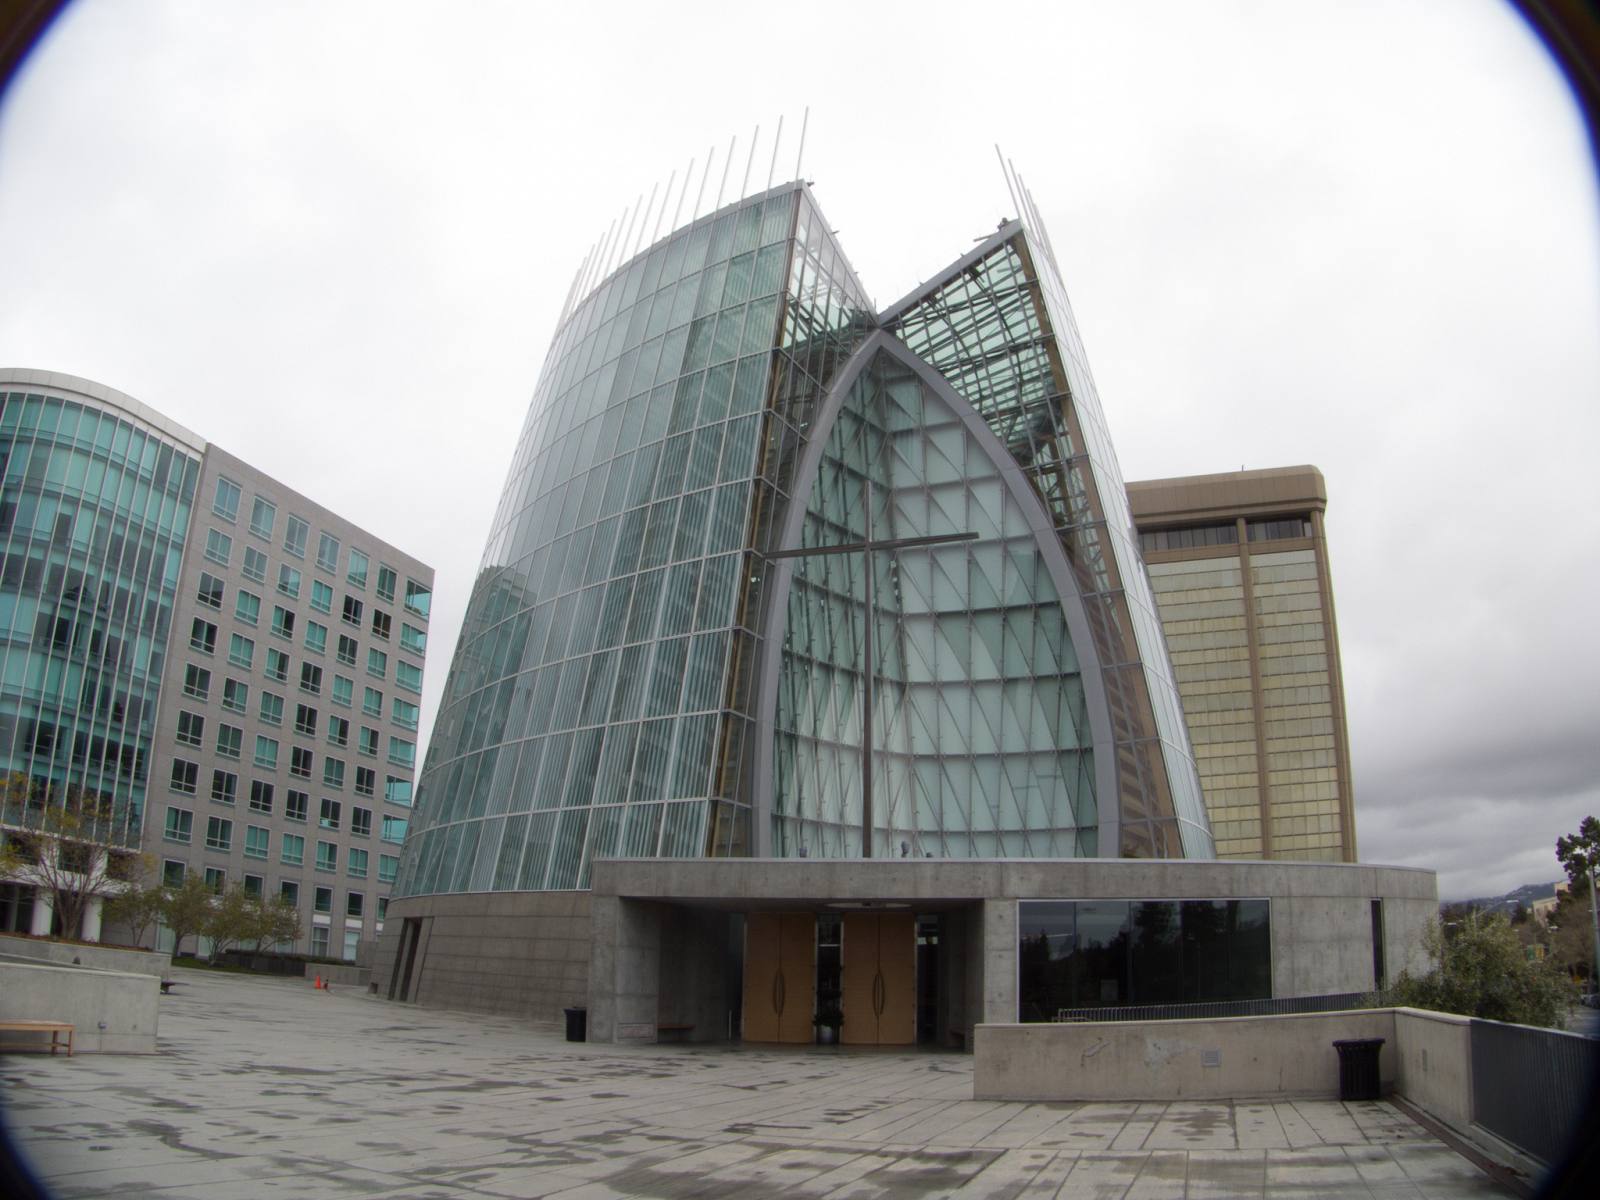
Overall I am pretty impressed with how good the RAW file holds up. Granted there is a log of noise but given how much I pushed the file it is quite remarkable for such a small sensor size. If you look closely you can see that there are a slight differences in the pictures. These differences are cause by the automatic lens correction performed by the camera when generating the JPEG. In the picture below you can see a RAW shot at the smallest focal length. You can clearly black corners in the picture caused by the lens itself. You can also see chromatic aberration.

If you want to check out the images for yourself you can download the original RAW and JPEG file from the links below (use right-click and save as):

Installation
The installation of CHDK is fairly simple and straight forward:
- Take a random picture with your point-and-shoot.
- Insert the SD card into your card reader.
- Download and start the STICK tool (You need Java to run this tool).
- Once the program is started drag&drop your taken picture into the STICK placeholder.
- Follow STICK instructions to download and install the right firmware for your camera.
- Once the STICK program completes successfully remove the card and lock it.
- Insert the card back into your camera and start the camera.
Once the camera starts you should see the CHDK logo. It takes a little while to get used to the usage. Due to the lack of buttons CHDK overloads the review button (you can change the button in the menu). Press the review button once you can toggle between the normal and CHDK mode. If you are in the CHDK mode you will see a small at the bottom of the screen. If you are in the CHDK mode you can press the menu button to access the CHDK options. If you want to actually review your pictures you need to press and hold the review button for a little while.
Verdict
I just installed the CHDK a few days ago and did not hat the time to test it to its fullest potential. My main goal so far was to evaluate the RAW capabilities if this modification. Overall I an pretty pleased with the results. I am not sure if I am going to use it extensively in the future: Pro:
- Non-destructive. CHDK simply replaces the firmware at boot time. This means that the whole procedure is non-destructive. You Do not lose your original firmware. And if you do not like want the CHDK anymore just format the SD card.
- The RAW is directly captured as DNG file. This means that you do not need any RAW converter support in Lightroom (or whatever software you are using). As a matter if fact there are no raw converters which support this kind of cameras.
- Better JPEG and video quality settings. If you don’t want to go through the hassle of the RAW files you still can enjoy better looking pictures and videos.
Contra:
- No lens correction for RAW files. There are no lens corrections files for those point-and-shoot cameras. Depending on you camera and lens this might or might not be an issue. But as shown in one of the examples above the distortion/vignetting can be quit serious.
- Somewhat flaky user experience. There are randomly menus poping up. Sometimes my camera did not wanted to start in shooting mode and I had to go back to the review mode and disable the CHDK mode. This can be somewhat annoying if need to capture the moment and the camera just does not work as expected.
- The bracketing seems inverse. If you are shooting in aperture priority mode the the auto bracketing will vary the aperture and not the shutter. In the shutter priority mode the bracketing will vary the shutter instead of the aperture.