Interactive Blender Panel
Updated on
in
Photography
Software
Tags:
Blend-if
Extension Panel
Luminosity Masks
Photography
Photoshop
Software
Tutorial

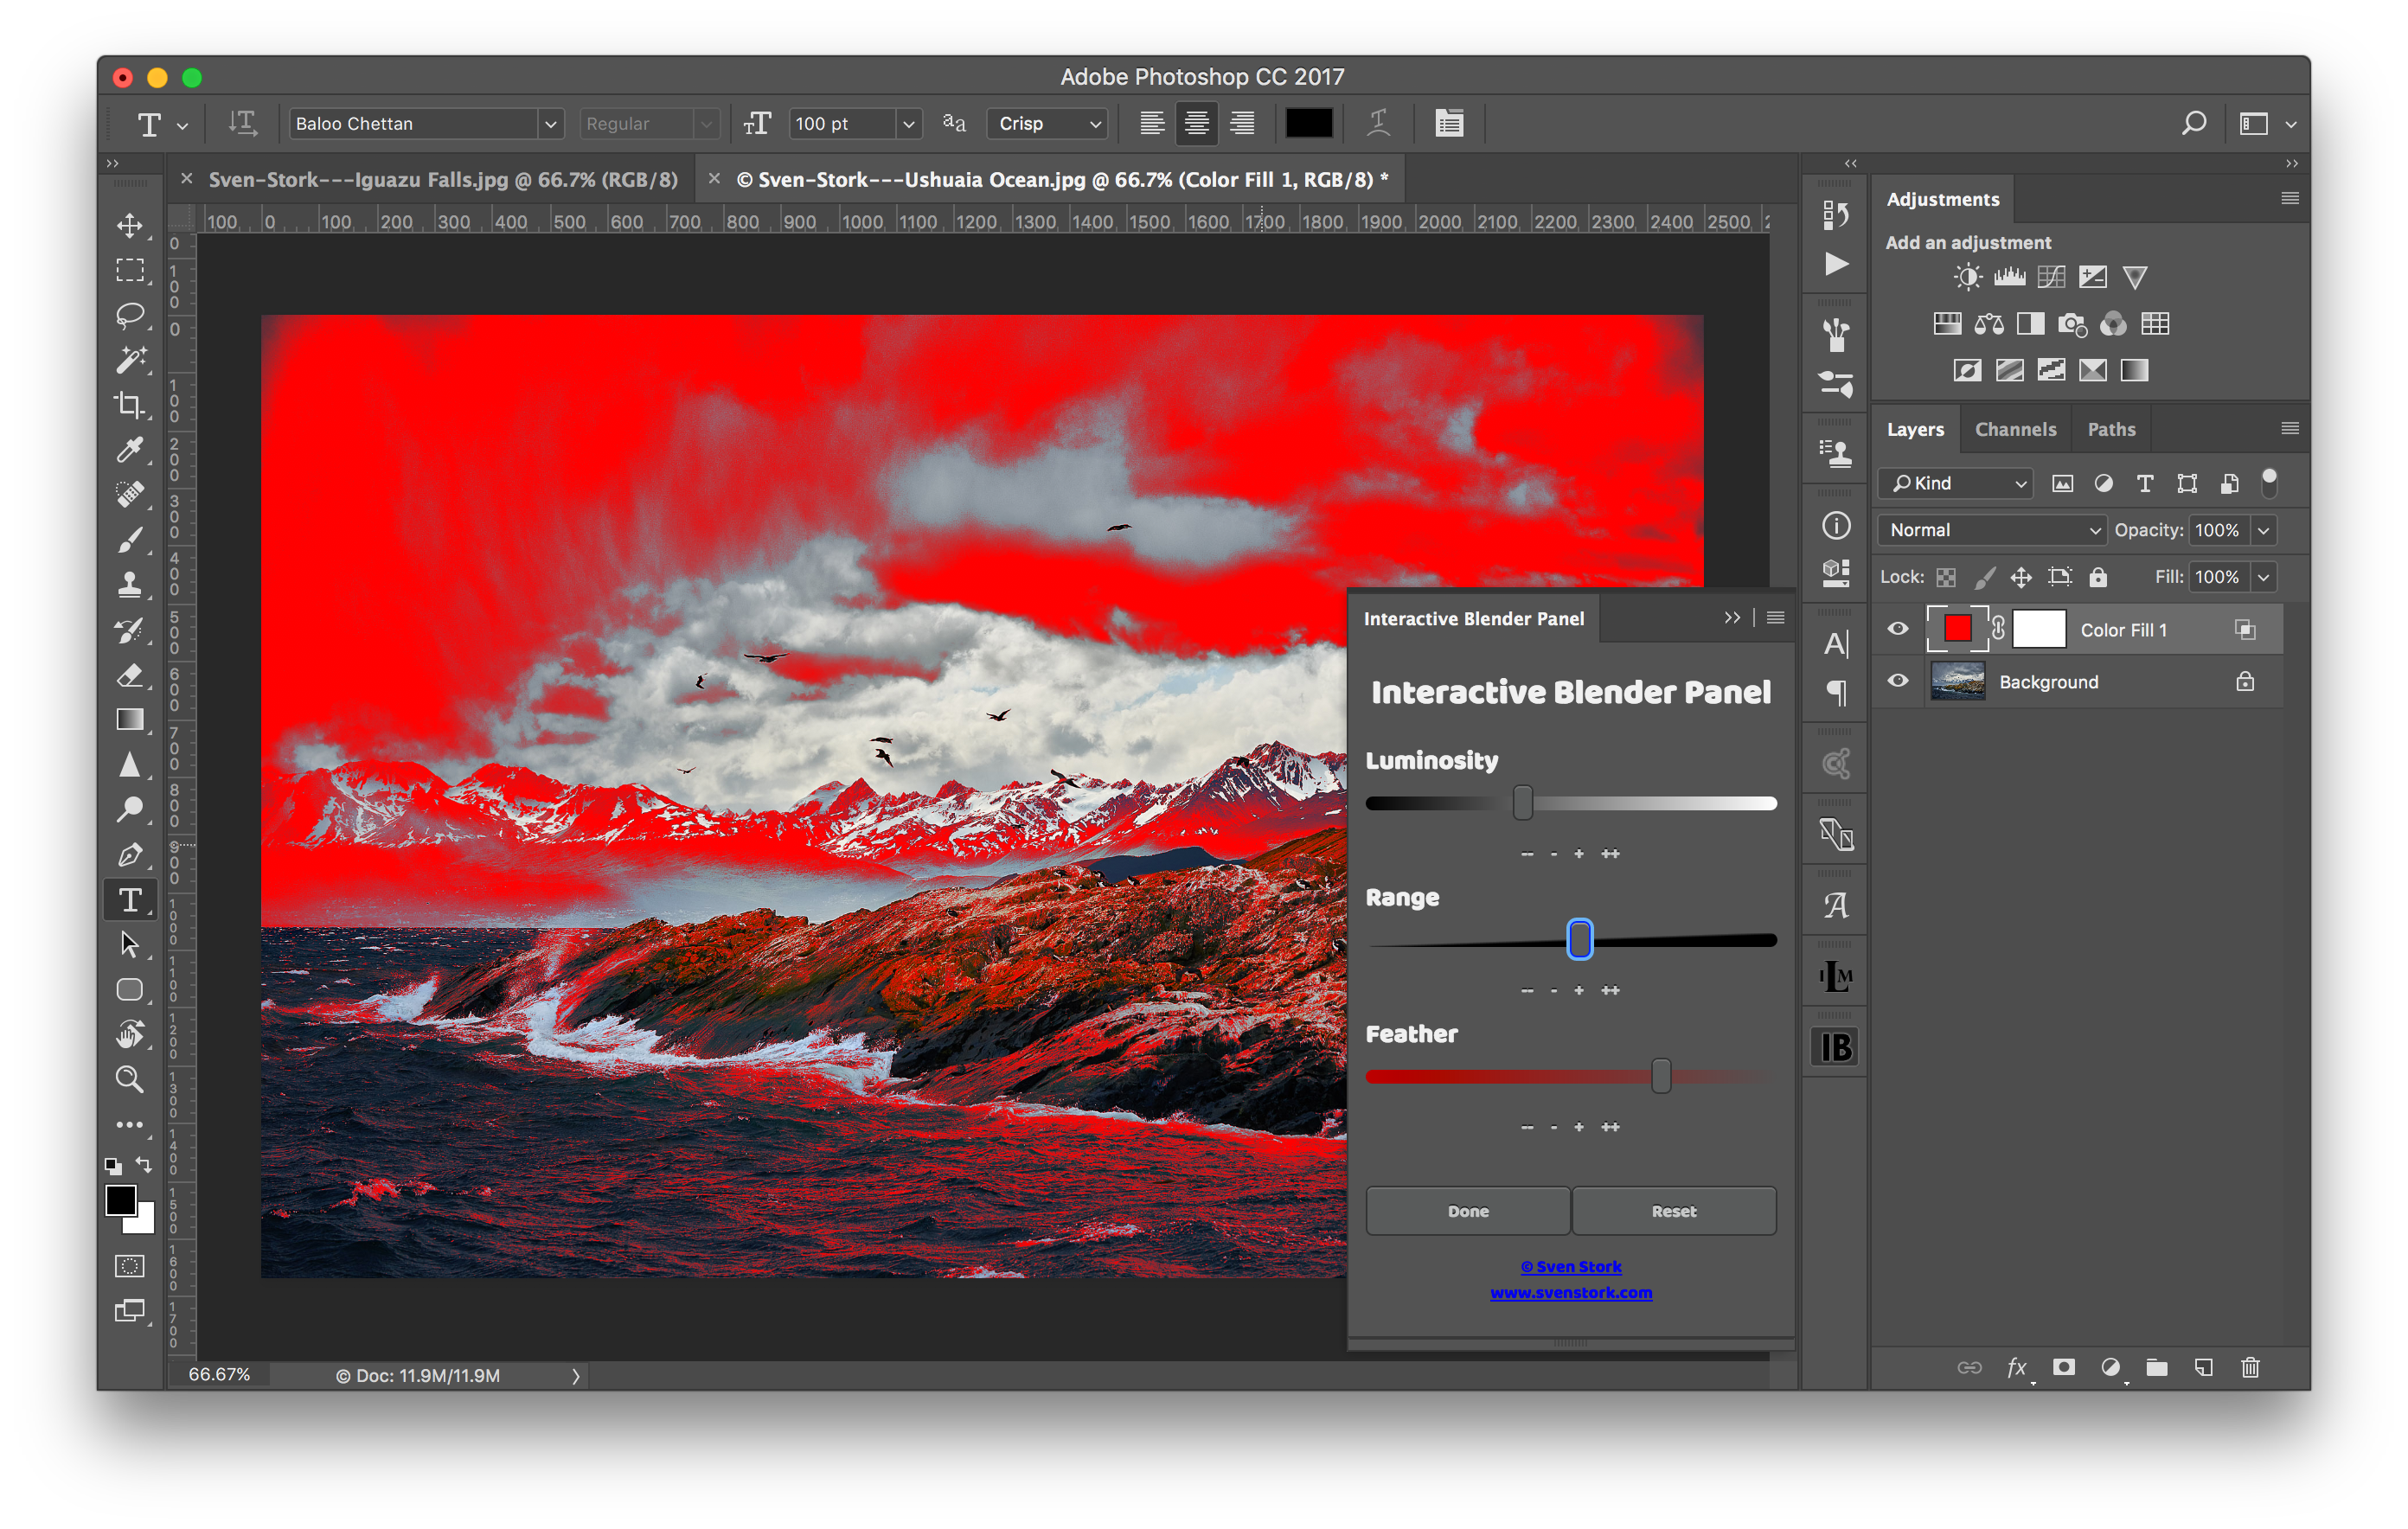
The Interactive Blender Panel simplifies the bend-if layer style feature in Photoshop by offering users an interface in terms of more common concepts such as luminosity, range and feather. The advantage of using the blend-if styles to blend layers is that there is not need to explicitly create luminosity masks.
There are still use cases in which you need to have a real luminosity mask (e.g., if you want to refine it event more yourself). If you like to create actual luminosity or saturation masks checkout my Interactive Luminosity Mask Panel.
License
The Interactive Blender extension panel is offered free of charge and may be used for personal or commercial work a like. The redistribution of the panel without my written permission is prohibited. Installation
You can download/install the panel for free from the Adobe Marketplace.
Support
If you like to support my work, you can buy me some cookies here:
- Bitcoin: 1EDVLKUUhdfHx9aQpwdNcubCYfs8h5RjYT
- Paypal: https://www.paypal.me/SvenStork/
Usage
The usage of the Interactive Blender Panel is straightforward.
- Select the layer you want to blend into the layers below
- Open the panel via the menu: Window > Extensions > Interactive Blender Panel
- Choose one of the preset buttons
- Adjust the luminosity slider if needed to the zone you want to blend into
- Adjust the range slider to range of luminosity values nearby you want to affect
- Adjust the feather value to smoothen the blending
- Choose one of the preset buttons
- Press the Done button to leave the adjustments or Reset if you want to discard your changes.
- The following video tutorial explains this steps in more details and shows how the top layer is blended into the bottom layer.