Interactive Luminosity Masks
Updated on
in
Photography
Software
Tags:
Extension Panel
Image Editing
Luminosity Masks
Photography
Photoshop
Post Processing
Software
Tutorial
The Interactive Luminosity Panel (ILM) is a novel Adobe Photoshop extension for creating luminosity and saturation masks in a more efficient and user-friendly way. ILM allows the interactive creation of custom luminosity/saturation masks/selections with instantaneous visual feedback. The main advantages of ILM over the traditional luminosity mask approach (i.e., running actions which create a fixed number of possible luminosity mask channels) are:
- ILM only creates the masks you need and not a huge set of masks which will consume a lot of extra memory.
- ILM allows very fine control over the luminosity/saturation mask range, unlike many luminosity mask actions which only provide masks that roughly halve their selection at each step.
- ILM provides instant feedback of the mask on screen.
- ILM’s way of computing zone masks is more precise and flexible than common approaches of computing zone masks based on the intersection of highlight and shadow luminosity masks with themselves.
- ILM automatically provides direct support for the most common uses for luminosity masks (e.g., selections, channels, curve layer, etc.).
- ILM does not use selections to create the masks, which allows ILM to create true 16-bit masks (in the case of 16-bit images).
License
The Interactive Luminosity Mask extension panel is offered free of charge and may be used for personal or commercial work alike. The redistribution of the panel without my written permission is prohibited.
Support
If you would like to support ILM and my work, you can buy me some cookies here: http://paypal.me/SvenStork
Installation
Go to the Adobe Exchange page and press the ‘Free’ button, and Adobe CC should do the rest.
Usage
After you successfully install the panel, you can open it via Plugins > Interactive Luminosity > Interactive Luminosity Masks. When the panel window opens, it will show the main menu dialog:
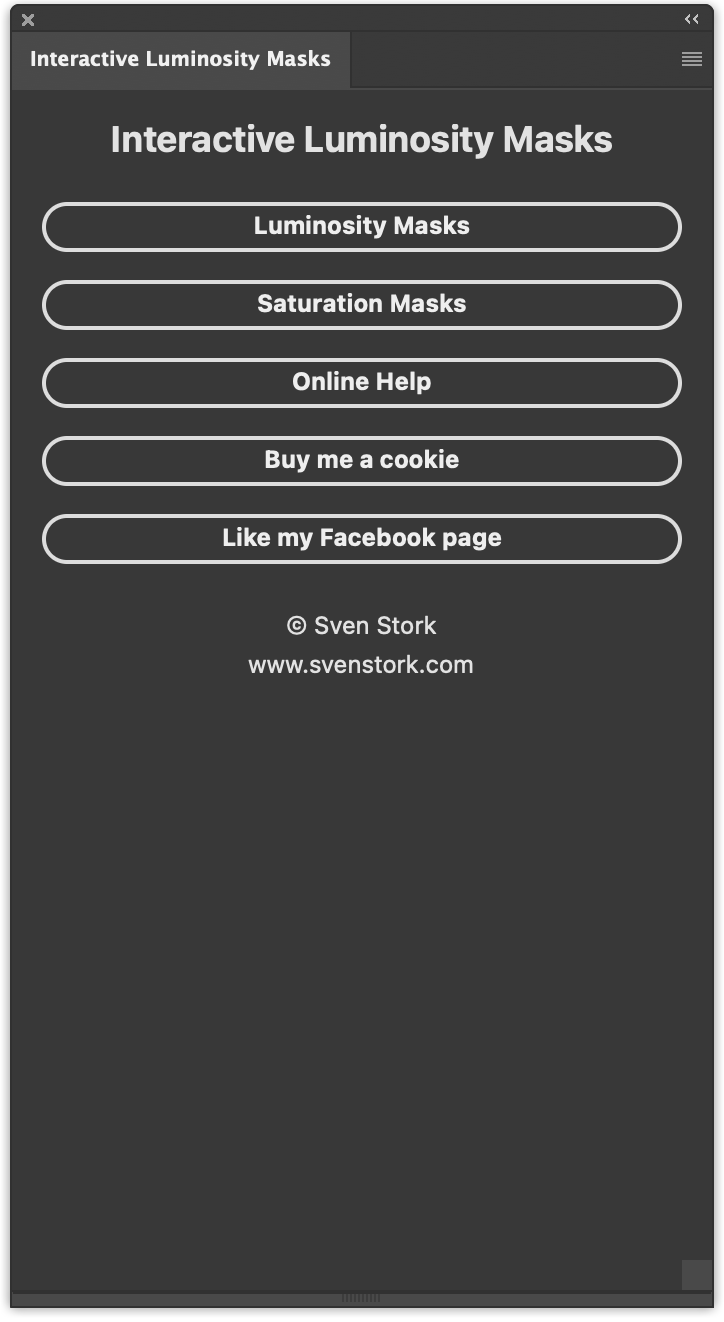
From there you can select either luminosity or saturation mask by clicking in the corresponding button. This brings you to the selection mode window:
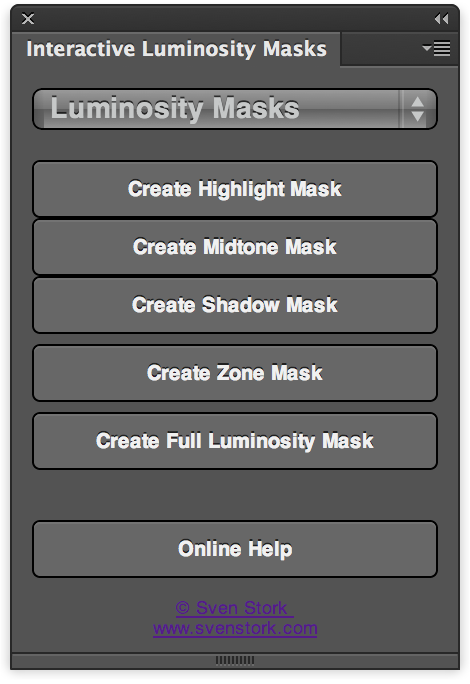
The first three buttons let you create highlight, midtone, or shadow masks. The next button allows you to create zone masks. This mode allows for the maximum control. The Saturation masks menu provides identical functionality, just creating masks based on saturation instead of luminosity.
You need to have a document open before you can start creating luminosity masks.
Highlight, Midtone, and Shadow Masks
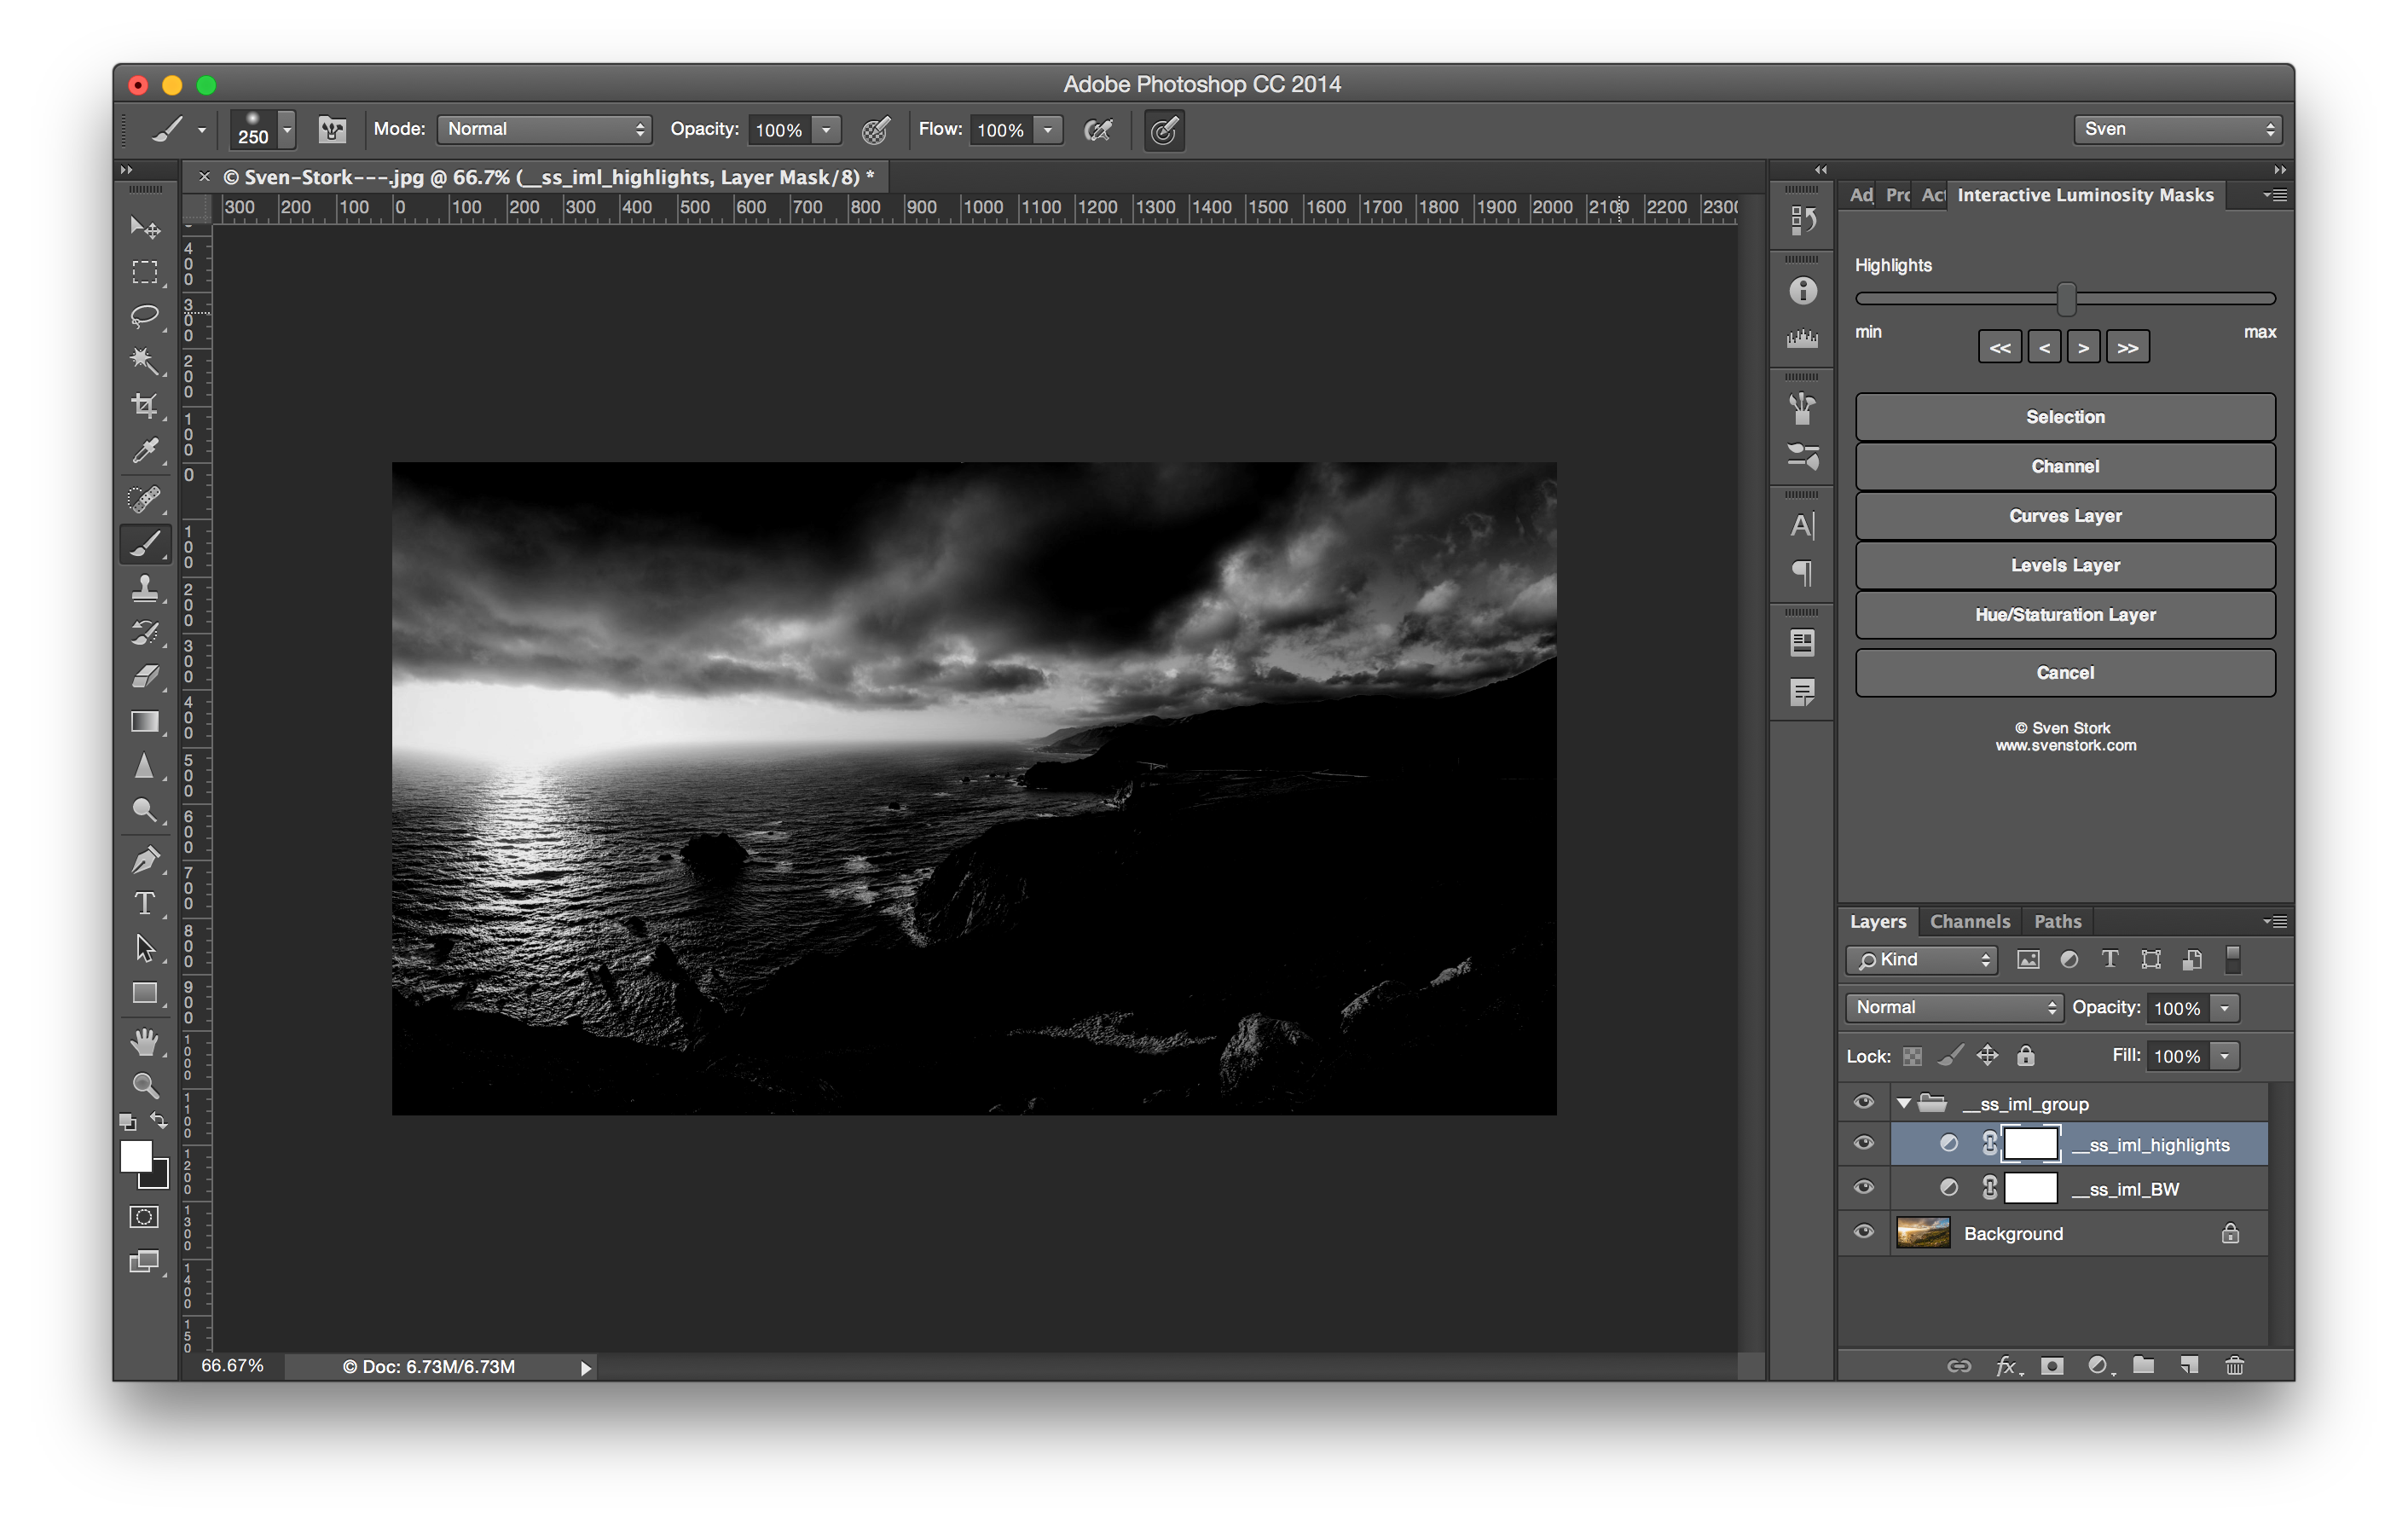
Assuming you pressed the Zone button, the panel will create a few helper layers shown in the layer stack, show a preview of the luminosity masks in the main view, and switch to the Zone dialog:
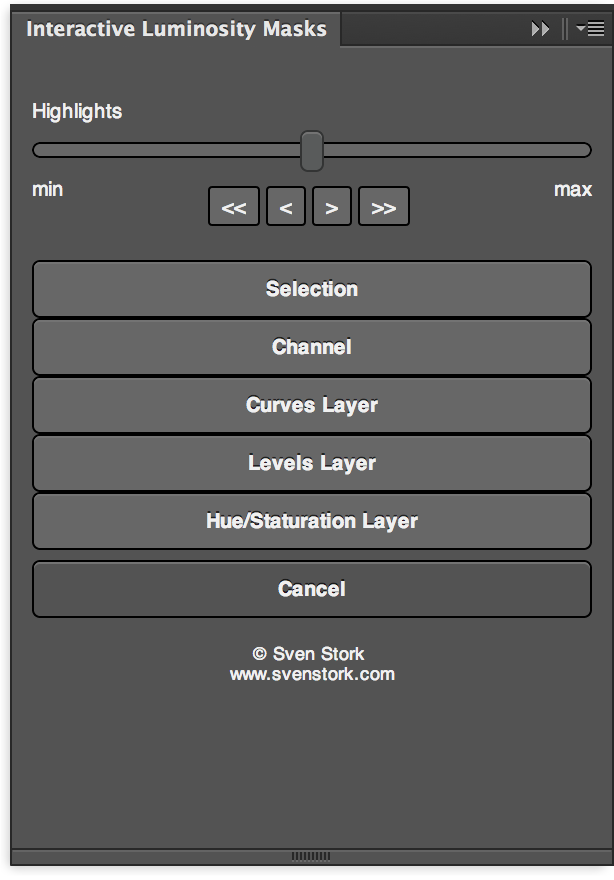
At the top of the window there is a graphical representation of the luminosity range that you select i.e., the area under the red curve. This dialog has a slider on the top which allows you to control the amount of highlights the luminosity mask will select. Moving the slider to the left will select fewer highlights, and moving the slider to the right will select more highlights. Under the slider, there are four buttons which allow you to fine-tune the selection by incrementally adjusting the slider. At the bottom of the dialog, you will find the various buttons to take action upon the chosen luminosity mask:
- Selection: Creates a selection based on the luminosity mask.
- Channel: Stores the luminosity mask in a new channel.
- Curves Layer: Creates a new curves adjustment layer with its layer mask set to the luminosity mask.
- Levels Layer: Creates a new levels adjustment layer with its layer mask set to the luminosity mask.
- Hue/Saturation Layer: Creates a new hue/saturation adjustment layer with its layer mask set to the luminosity mask.
- Cancel: Do nothing and return to normal Photoshop.
All actions which create a new layer/channel will show a dialog, asking for a name of the layer/channel. The midtone and shadow dialogs work exactly the same way, only differing in the fact that they create luminosity masks for midtones and shadows.
Zone Masks
The zone masks are a tribute to Ansel Adams’ zone system. Unlike Adams’ zone system, the interactive zone masks allow for a continuous selection of the luminosity range instead of just allowing 11 zones. After clicking on the ‘Zone Mask’ button, the following dialog will appear:
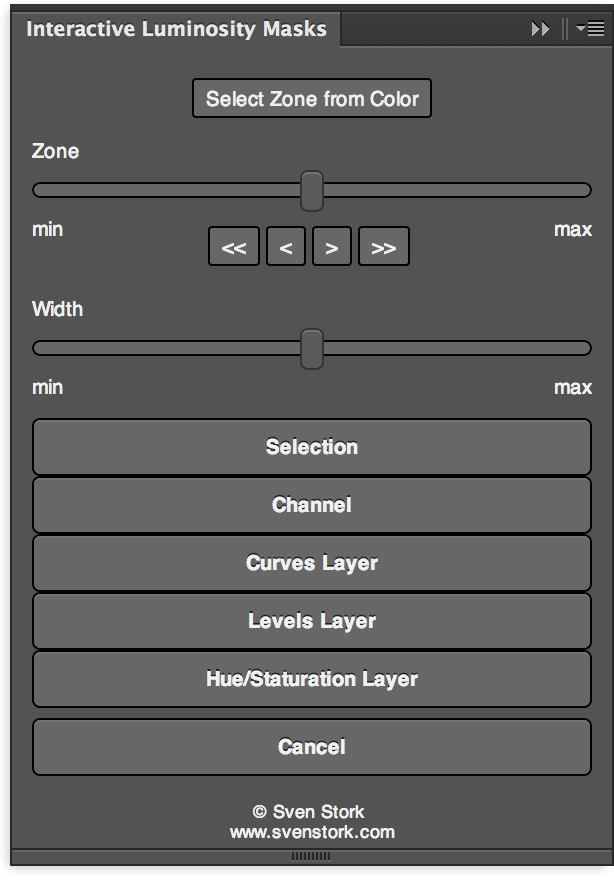
The ‘Zone’ slider below selects the center value of the luminosity zone. The buttons below allow a more fine-grained selection of the luminosity zone value. The ‘Width’ slider adjusts the width of the zone (i.e., how many of the neighboring luminosity values are included in the selection). The buttons at the end of the dialog act exactly the same way as described in Highlight, Midtone, and Shadow Masks.
More Resources
Chuck Henrich wrote a nice tutorial in this blog post, available here: https://chuckhenrich.com/interactive-luminosity-masks-in-photoshop-plug-in including a YouTube video showing the panel in action.